Function
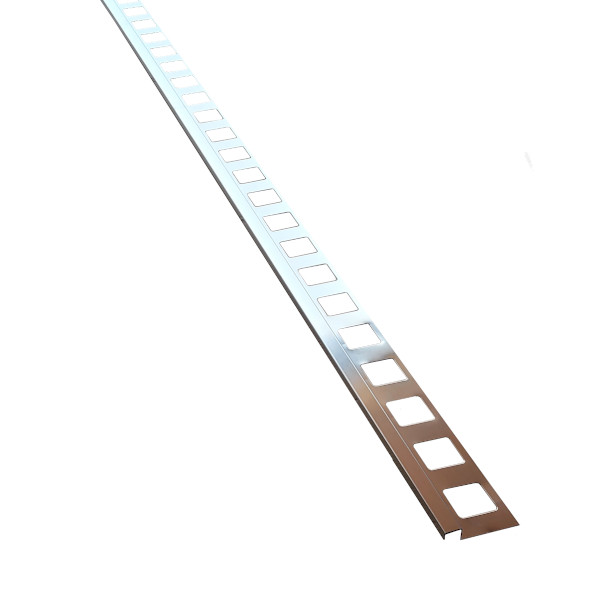
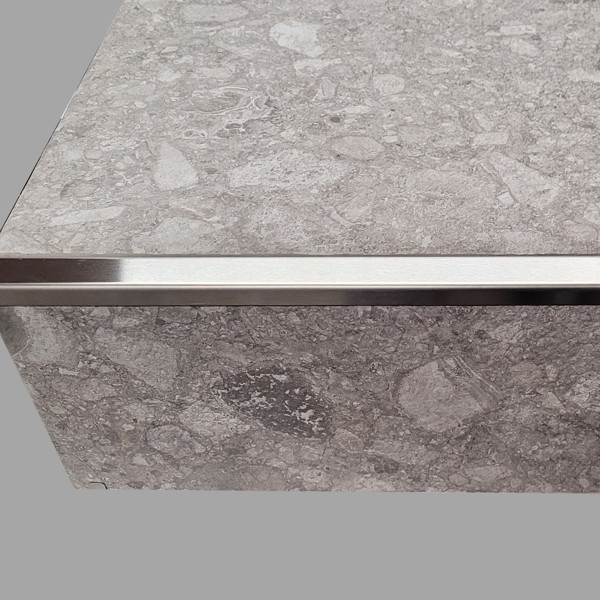
The border profile in brushed stainless steel is the perfect complement for your pedestal.
This border cladding is
– easy to assemble,
– shapely and
– allows you to adjust the veneer to all height conditions.
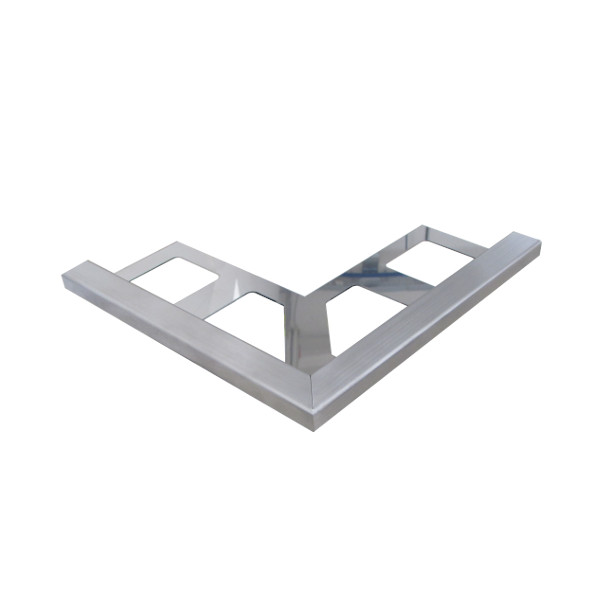
The range of border profiles is rounded off by optionally available corner pieces.
The border profiles can be used with the pedestals ‚Professional‘, ‚Gemini‘, as well as the raised floor system ‚SmartWabic‘.
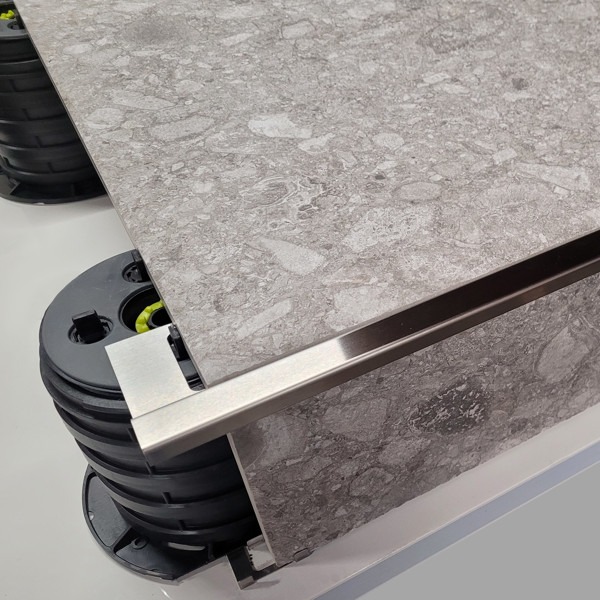
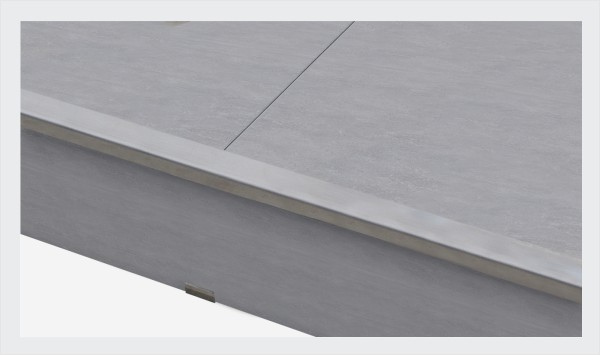
installation the border profiles
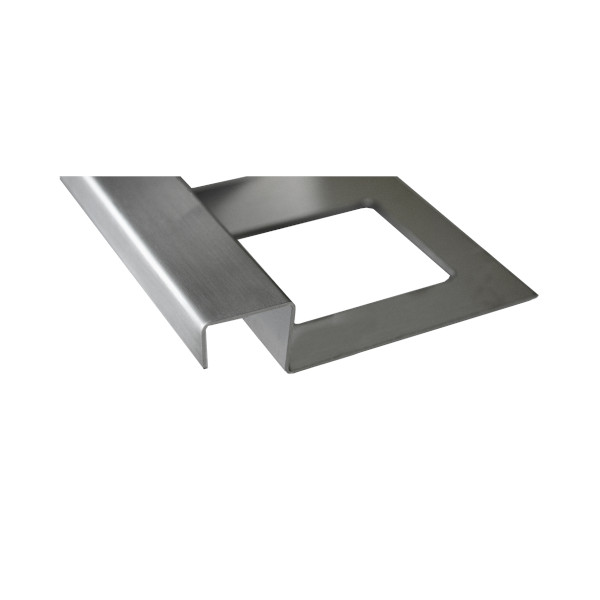
The whole construction consists of two parts:
– the border profile and
– the lower riser connection clip
Step 1:
The pedestal are positioned at the edge and the border profile is placed loosely.
Before that, the bottom of the pedestal are cut along the pre-milled line embossed in the pedestal and the bottom riser connection clip is placed underneath
Both parts can optionally be additionally fastened with a montage adhesive.
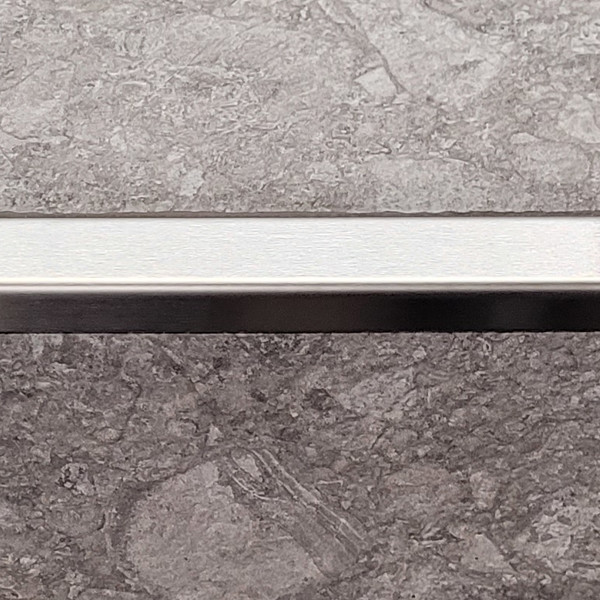
The following pictures show the ’stainless steel brushed‘ finish:

Step 2:
The vertical panels are cut to the required size and inserted into the space between them.

Step 3:
The panels are placed.

installation the edge profile on raised floor ‚SmartWabic
The installation takes place in the following steps:
Step 1:
The lower riser connection clip is glued to the pedestal with an montage adhesive.
Use our montage adhesive for this purpose – you will see that an extremely stable connection of the clip with the stilt pedestal results.


Step 2:
You can see the edge design with clips already mounted in the following pictures:

Step 3:
Now place the border profile loosely for the time being and measure the distance to the underlaid clip

Step 4:
Now cut the vertical plate approx. 2-3 mm lower than the measured value and insert the plate

Step 5:
Fix the Fix-Clip into the honeycomb construction at a distance of 1 m and screw the border profiles onto it.

Step 6:
Finally, place the base plate on top – that’s it!

Requirements
The border profile is very suitable for the following products:
- pedestal Professional
- Raised floor system ‚SmartWabic‘ (only 10 cm and 12 cm due to design)
Thickness of the plates:
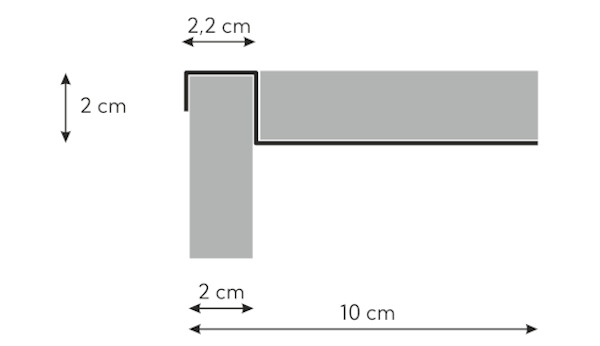
The edge trims have been designed for slabs (porcelain stoneware, natural stone, etc.) in the thickness of 2 cm.
Consideration of the border profiles in the configurator
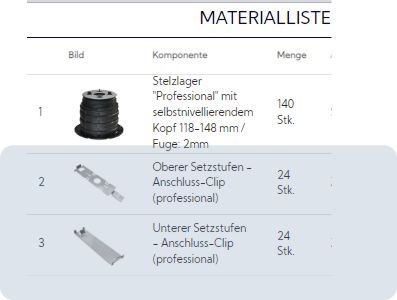
The configurator automatically calculates the required lower clips and the required number of edge profiles.
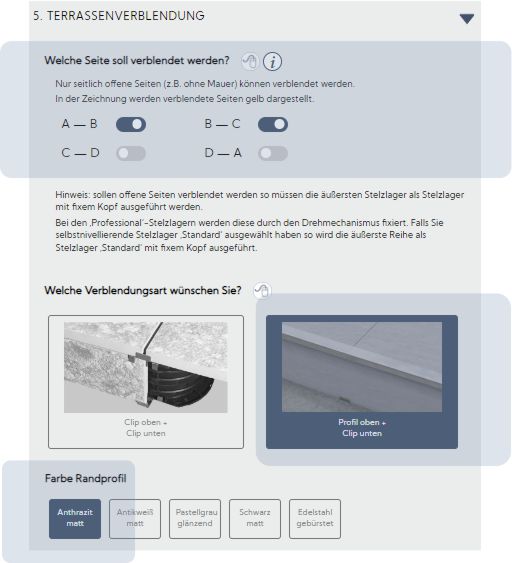
- Under point 5 ‚Terrace facing‘, select the sides that are to be faced.
- Activate the item ‚Profile top + Clip bottom‘ .
- Select the material of the edge profile in the bottom left corner
After entering these points, the configurator knows that along the specified sides the terrace should be faced with edge profiles and the corresponding lower clips.
Below you can see an example.
Step 1: Selection of points
Step 2: by yellow marked borders the configurator shows you that these pages will be blended.
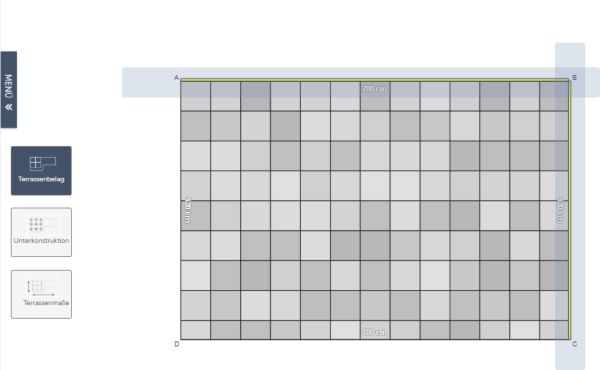
Step 3: The correct number of bottom clips and edge profiles will appear in the material list.
Here you can see the cross-section drawing of the edge profile
Samples of the border profiles can be requested from us at office@ceratrends.com.




Bewertungen
Es gibt noch keine Bewertungen.