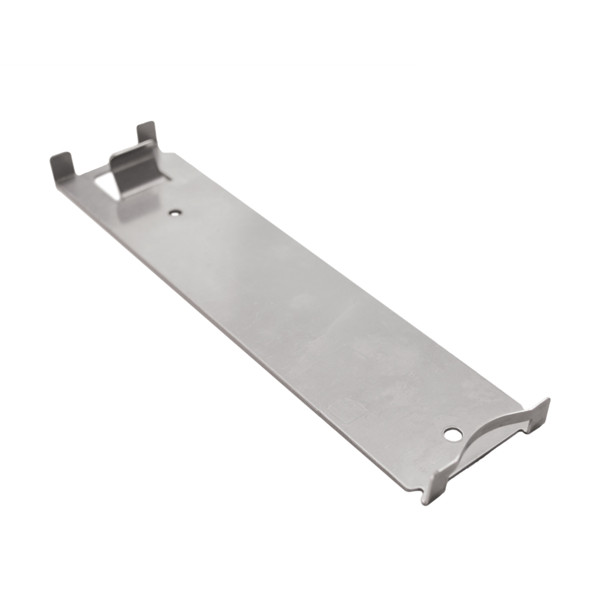
Function of the lower riser connection – clip
This clip allows
- together with the upper riser connection – clip or
- together with the edge trim profile
the realization of vertical edge finishes made of 2cm thick plate material.
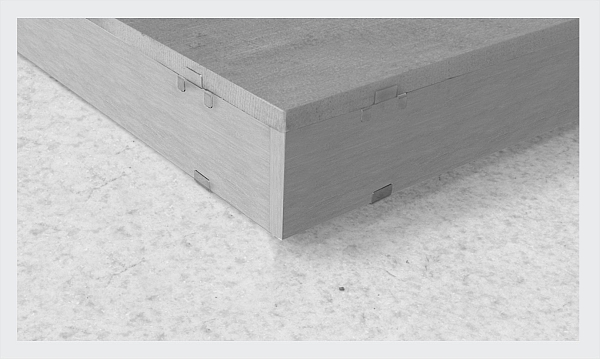
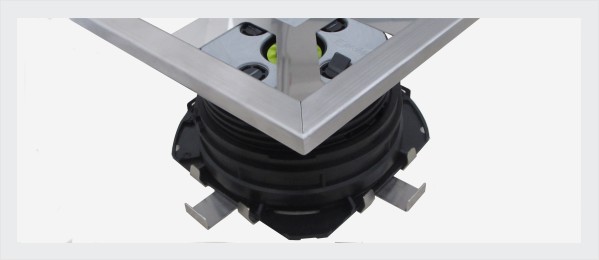
Fig. 1 shows the variant with upper and lower riser connection clip
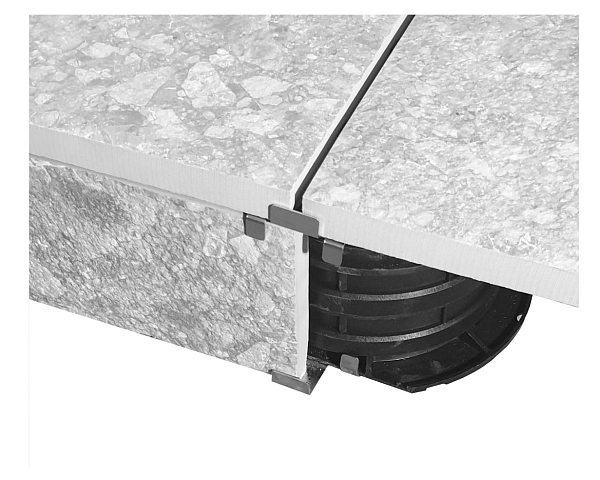
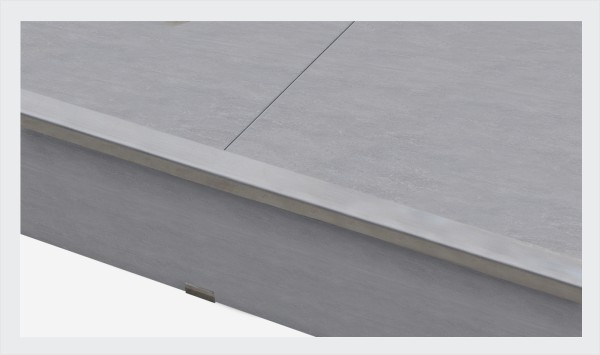
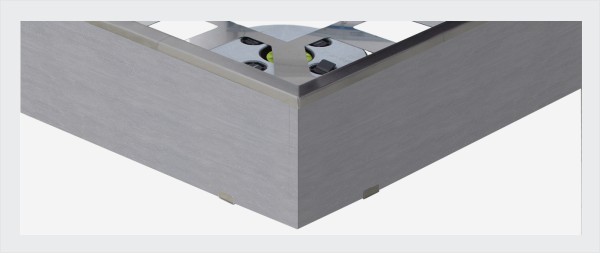
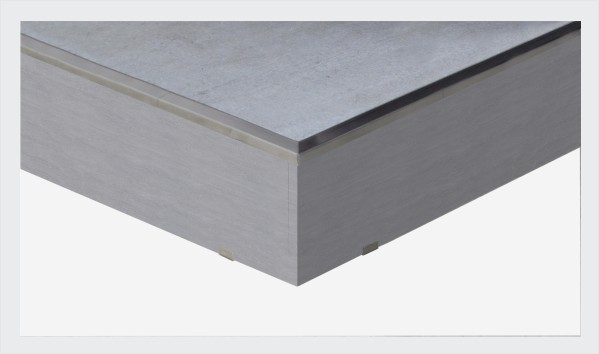
Figure 2 shows the variant with the edge profile as follows:
installation of the lower and upper riser connection-clips
The installation of the lower and upper riser connection-clips is carried out in the following steps:
Step 1:
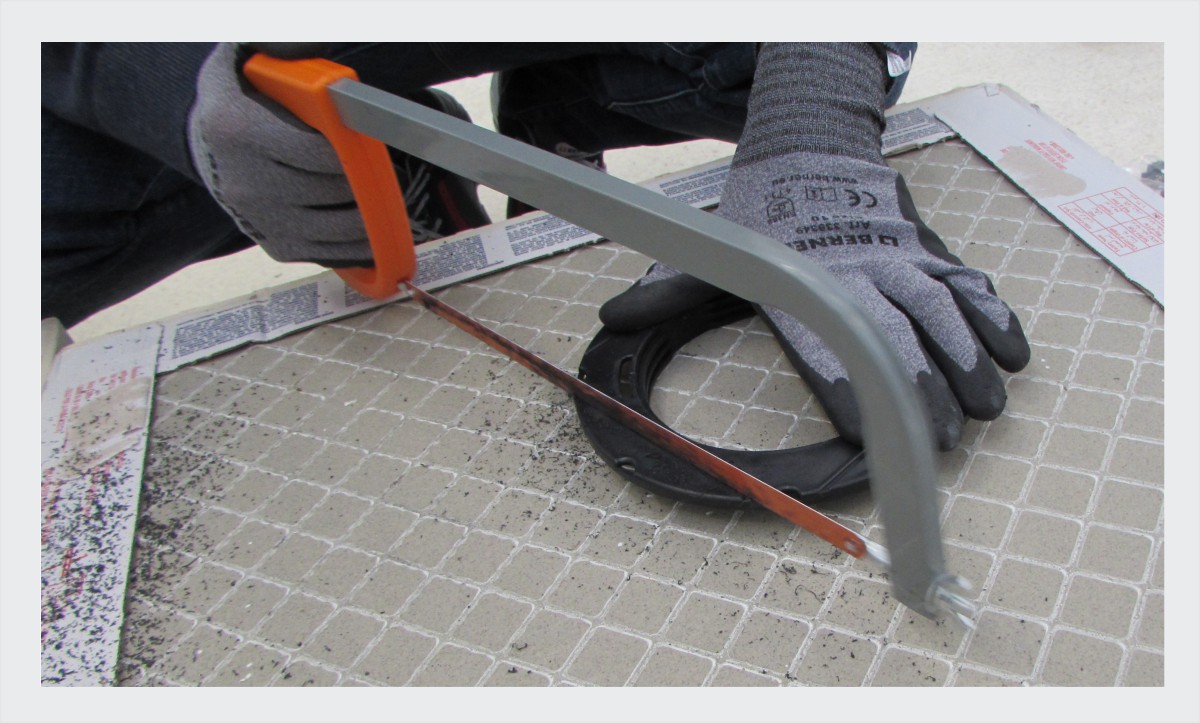
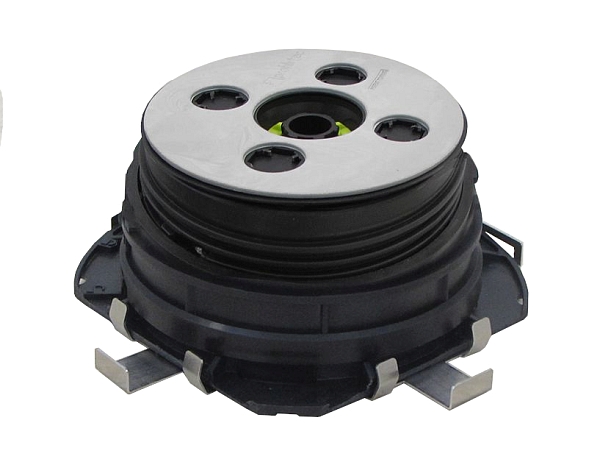
The pedestal must be cut at the base along the specified notches.
You can see them when you turn over the pedestal.
Cutting is done with a small saw.
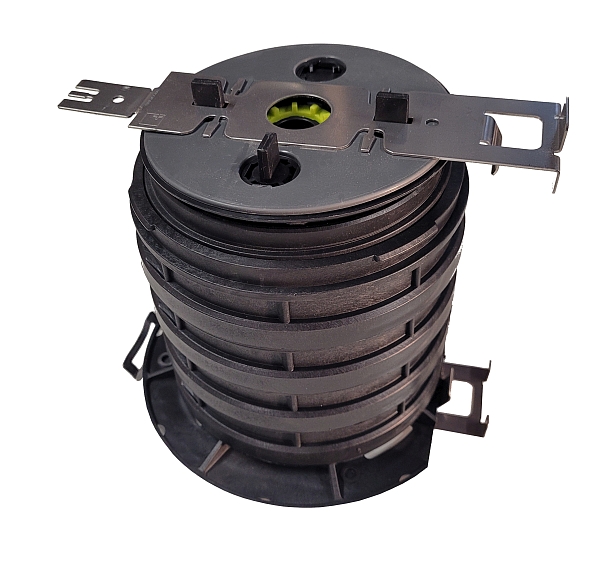
The upper and lower clips are then placed on top and underneath, respectively.
With a montage adhesive, you can also fix them permanently to the pedestal.
Step 2:
The vertical plate is cut to the required height and inserted into the gap.
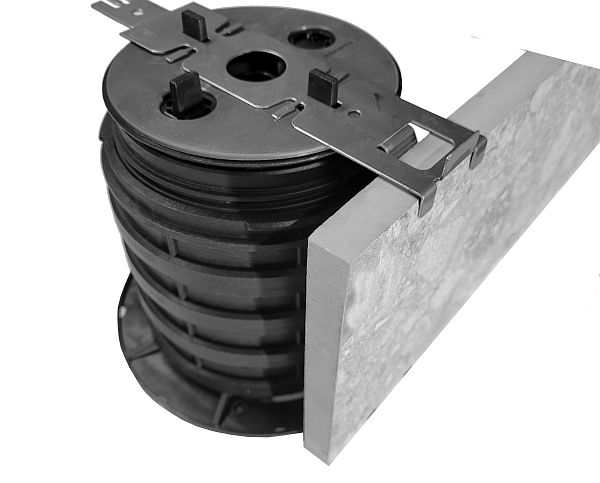
Step 3:
The slab is put on.
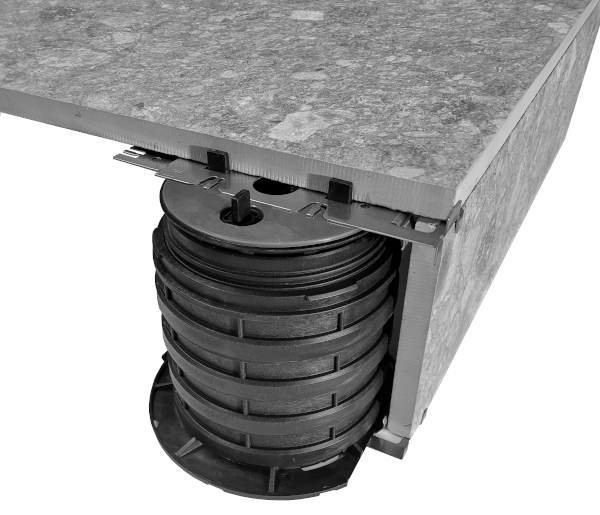
In the corners, both adjacent pedestal are cut off at the base and the clips are positioned offset from each other.
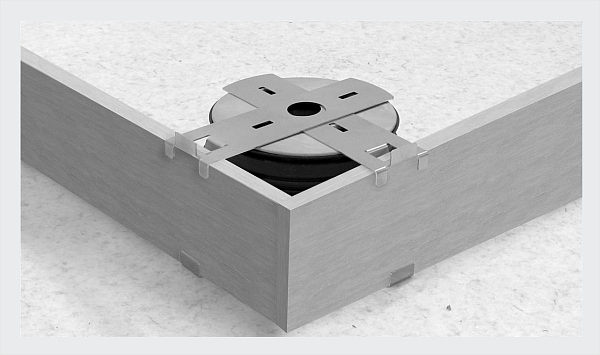
installation the edge profile with the lower riser connection clip
The installation of this combination is carried out in the following steps:
Step 1:
The pedestal must be cut at the base along the specified notches.
You can see them when you turn over the pedestal.
Cutting is done with a small saw.
Then the lower clips are placed underneath.
With a montage adhesive, you can also fix them permanently to the pedestal.
Then place the edge profile.
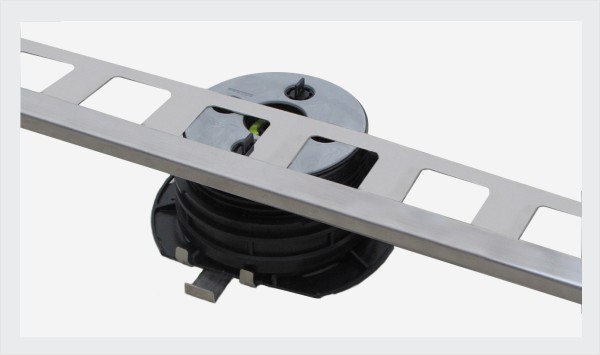
Step 2: subsequently, cut the vertical plate and place it between the lower riser connection clip and the edge profile:
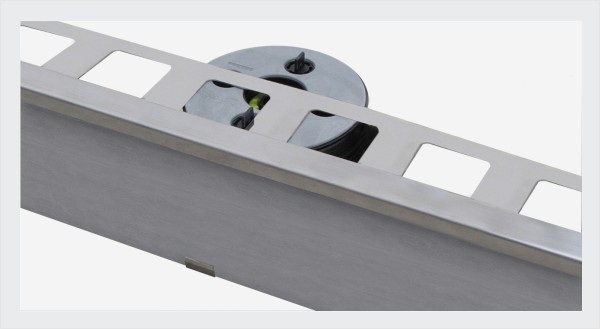
Step 3: place the plates a last
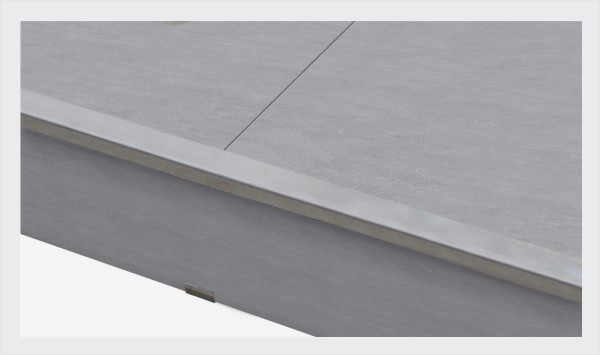
In principle, the same procedure should be followed in the corner area.
However, there are special one-piece corner designs for the edge profile.
The following pictures show the installation:
Consideration of edge trim variants in the configurator
Variant 1 : upper and lower riser connection clip
The configurator calculates the required clips automatically.
- Under point 5 ‚Terrace facing‘, select the sides that are to be faced.
- Activate the ‚Clip top + bottom‘ item at the bottom left.
With this, the configurator knows that along the specified sides the terrace should be faced with the upper and lower clips.
Below you can see an example.
Step 1: Selecting the points

Step 2: by yellow marked borders the configurator shows you that these pages will be blended.

The correct number of upper and lower clips will then appear in the material list!

Variant 2 : lower riser connection clip with edge profile
The configurator automatically calculates the required lower clips and the required number of edge profiles.
- Under point 5 ‚Terrace facing‘, select the sides that are to be faced.
- Activate the ‚Profile top + Clip bottom‘ item.
- Select the material of the edge profile at the bottom left.
After entering these points, the configurator knows that along the specified sides the terrace should be faced with edge profiles and the corresponding lower clips.
Below you can see an example.
Step 1: Selecting the points

Step 2: by yellow marked borders the configurator shows you that these pages will be blended.

The correct number of bottom clips and edge profiles will appear in the material list.

sample sets
Samples of edge trim clips are included in all sample sets X-Large
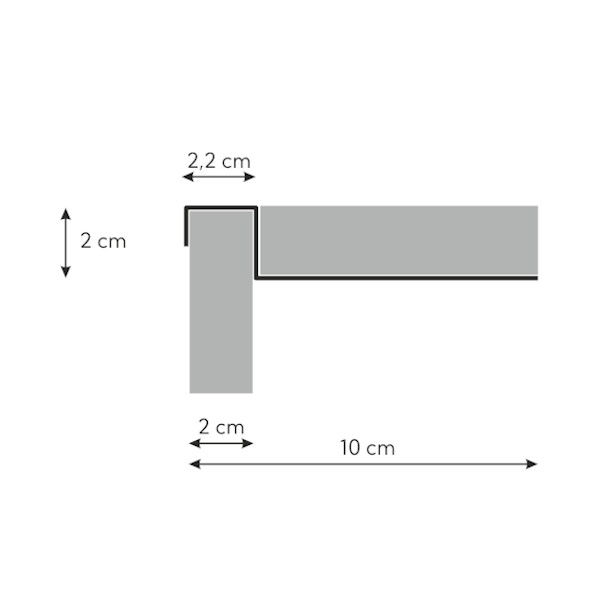
Technical drawing:
As follows, here you can see the cross-sectional drawing of the edge profile:

Return option
Save yourself time, money and effort – we take back unused top riser connector clips.
The prerequisite, of course, is that we can sell them again. That is: the clips
- must not be dirty
- must not show any signs of use (scratches on the surface or the like)
- arrive undamaged
What is the maximum number of clips we take back?
We take back maximum 10% of the ordered quantity
How and when is the refund
- within 2 working days from the date of delivery to us.
- by means of the payment method you have chosen during the purchase.
Are manipulation costs deducted?
Yes, costs will be deducted – but they are small and amount to 5% of the value of the goods, but at least EUR 9.- (for the whole return shipment)
These costs are below our cost price and represent only a part of the expenses we incur for quality control, return to storage and commercial processing (credit note, etc.).




Bewertungen
Es gibt noch keine Bewertungen.